The Perfect Crunch: Blanching Techniques for Vegetables

How to blanch: a guide to perfectly preserved freshness
Blanching is a culinary technique that may sound intimidating, but it’s simple and incredibly useful. Whether you’re looking to preserve your vegetables’ vibrant color and nutrients or prepare them for freezing, blanching is the way to go. This comprehensive guide will walk you through blanching nine different vegetables, ensuring they retain flavor, color, and nutritional value.
Understanding blanching
Before we dive into the specifics, let’s grasp the fundamentals of blanching. Blanching involves briefly immersing vegetables in boiling water, followed by rapid cooling. This halts the enzymatic activity that can cause vegetables to deteriorate over time, preserving their quality.
Why do you blanch vegetables?
- Preserves color: Blanching helps in maintaining the vibrant color of vegetables. The brief exposure to high heat activates the color pigments, making them look more appealing even after freezing or further cooking.
- Maintains texture: It can soften vegetables slightly while preserving their crispness. This is particularly useful for vegetables in salads or as part of a crudité platter.
- Enhances flavor: Blanching can remove unpleasant flavors, especially in certain green vegetables like broccoli or Brussels sprouts, enhancing their natural taste.
- Makes peeling easy: For some vegetables, like tomatoes and peaches, blanching makes peeling the skin much easier without cooking the flesh too much.
- Deactivates enzymes: Blanching stops the action of enzymes that can cause loss of flavor, color, and texture during freezing. This is why it’s a recommended step before freezing vegetables.
- Reduces microbes: While blanching doesn’t sterilize vegetables, it can also reduce the number of surface microbes and remove dirt and pesticides, making them cleaner and more hygienic.
- Improves freezing: When you freeze blanched vegetables, they retain a better texture and flavor than unblanched vegetables. Blanching before freezing prevents the vegetables from becoming mushy or flavorless.
- Saves time on meal prep: Partially cooking vegetables by blanching speeds up the cooking process for future meals. This is helpful for quick stir-fries, casseroles, and other dishes where cooking time is crucial.
- Removes bitterness: Blanching can remove bitter compounds in certain vegetables, making them more palatable.
- Prepares vegetables for canning and other cooking methods: Blanching is often a preliminary step before canning, drying, or other cooking processes, as it prepares the vegetables for the final cooking or preservation method.
Blanching is not intended to sterilize food. Sterilization is a process that eliminates all forms of life, including bacteria, viruses, fungi, and spores, which is not achievable through blanching. The primary purpose of blanching is to enhance the quality of the food, not to make it sterile.
Peas: A burst of sweetness
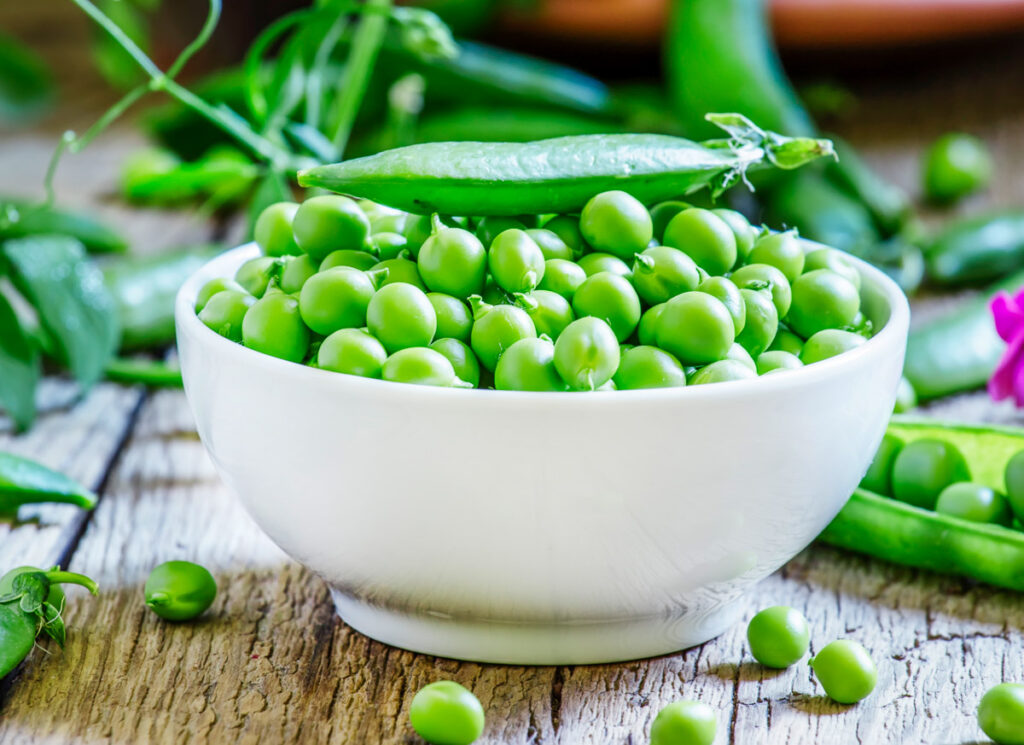
Blanching Time: 1-1.5 minutes
Peas are delicate, and blanching them maintains their vibrant green color and sweet flavor. Start by shelling the peas and blanch in boiling water for 1 to 1.5 minutes. The key is not to overcook; you want them slightly tender but firm. Plunge into ice water afterward to stop cooking and lock in that vivid green.
Broccoli: Keeping it crunchy
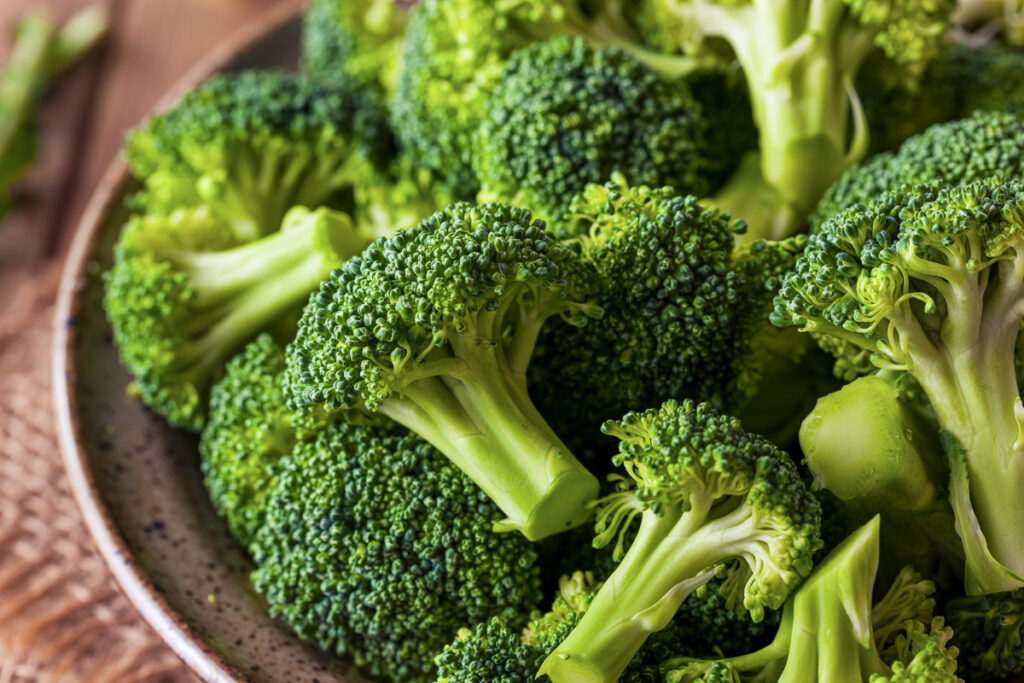
Blanching Time: 2-3 minutes
Blanch crisp and brilliantly green broccoli florets in vigorously boiling water for 2 to 3 minutes. The boiling water not only blanches the broccoli but also ensures any harmful microorganisms are eliminated. Afterward, transfer them to ice water to maintain that appealing texture.
Green beans: Preserving the snap
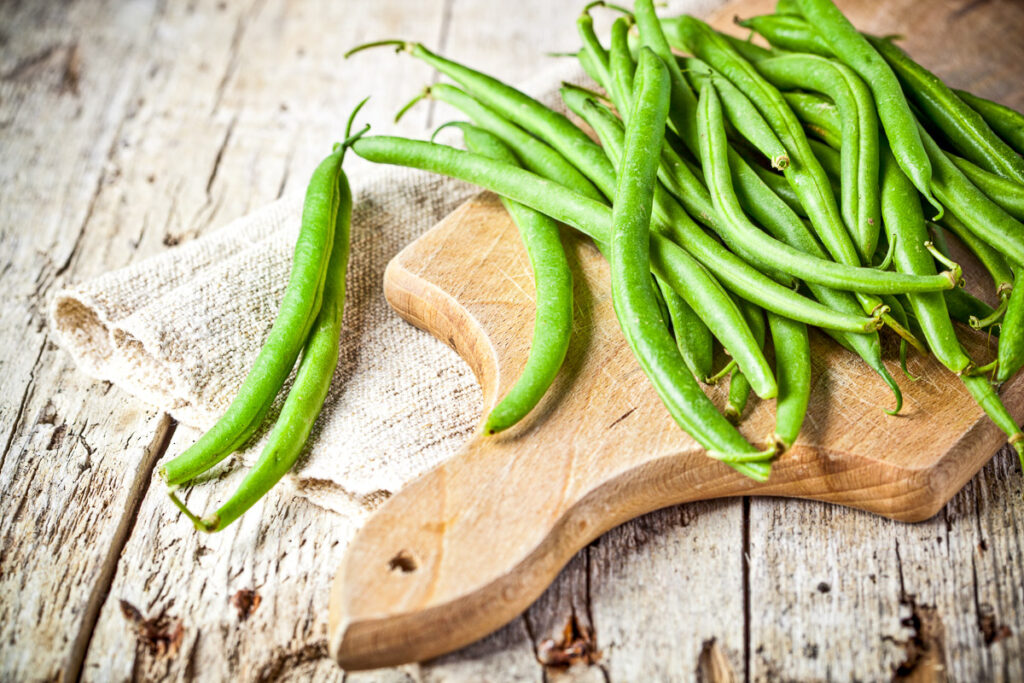
Blanching Time: 2-3 minutes
Green beans, often known as string beans, should be blanched in boiling water for 2 to 3 minutes. This brief but intense exposure to heat ensures they retain their crispness and vibrant green color. Once blanched, transfer them to ice water for swift cooling and preservation.
Corn on the Cob: A Summer Favorite
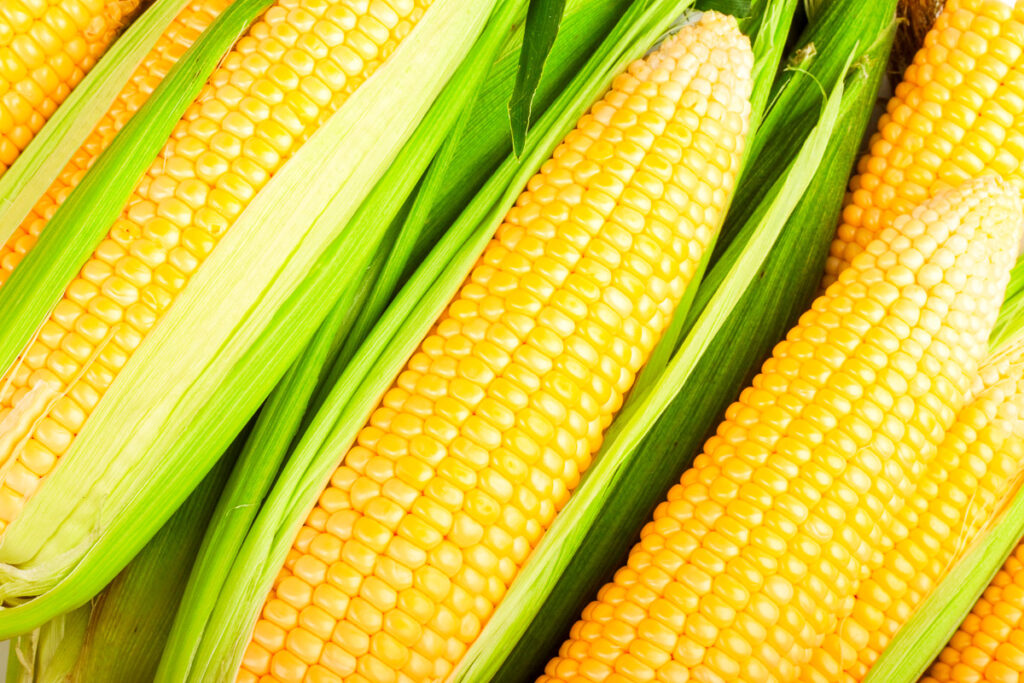
Blanching Time: 4-6 minutes
Enjoy sweet corn on the cob year-round by blanching it in boiling water for 4 to 6 minutes. This process locks in its sweetness and allows for easy removal of kernels. After blanching, plunge the corn into ice water for rapid cooling and to maintain its flavor.
Asparagus: Tender stems
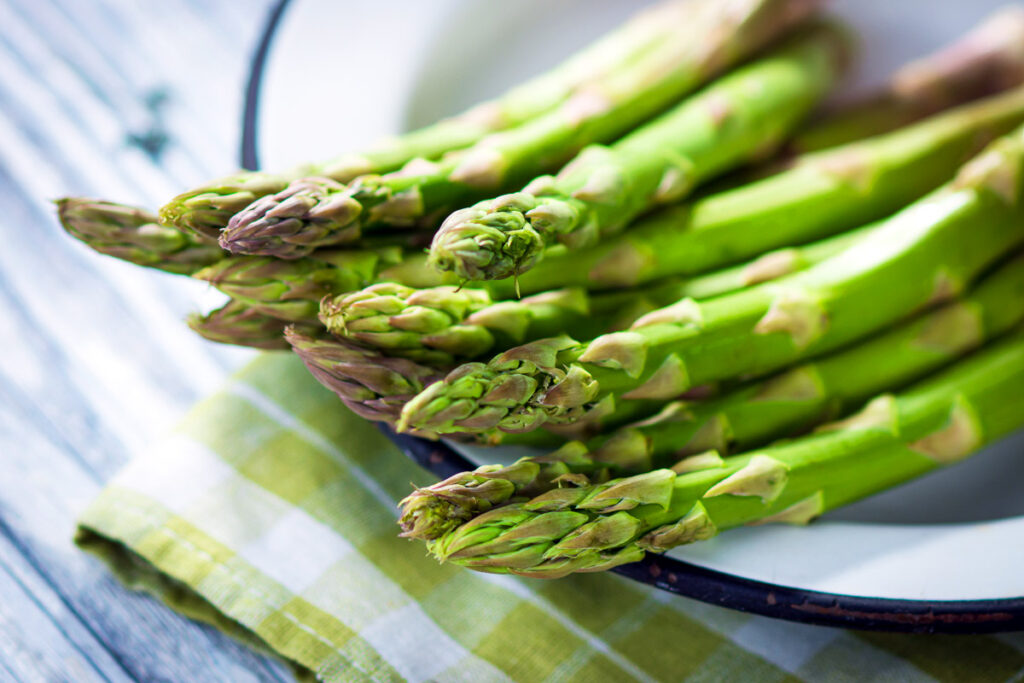
Blanching Time: 2-3 minutes
For asparagus spears, a quick blanching in vigorously boiling water for 2 to 3 minutes ensures the perfect tender-crisp texture. The boiling water blanches and sterilizes them, making them safe for consumption. A dip in ice water afterward preserves their vibrant green hue.
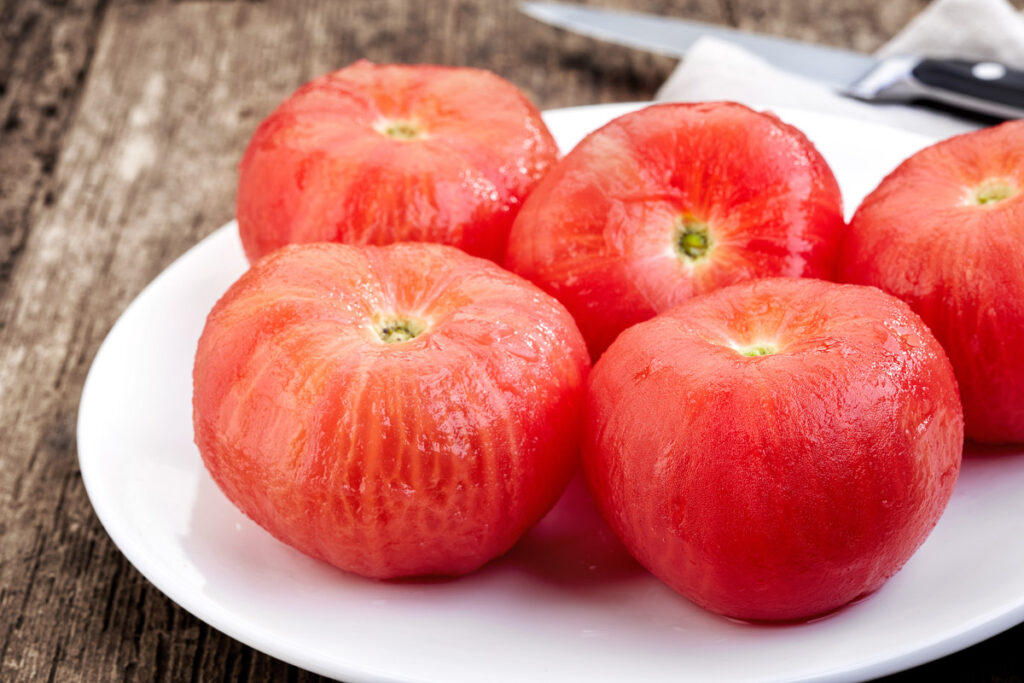
Tomatoes: Peeling with Precision
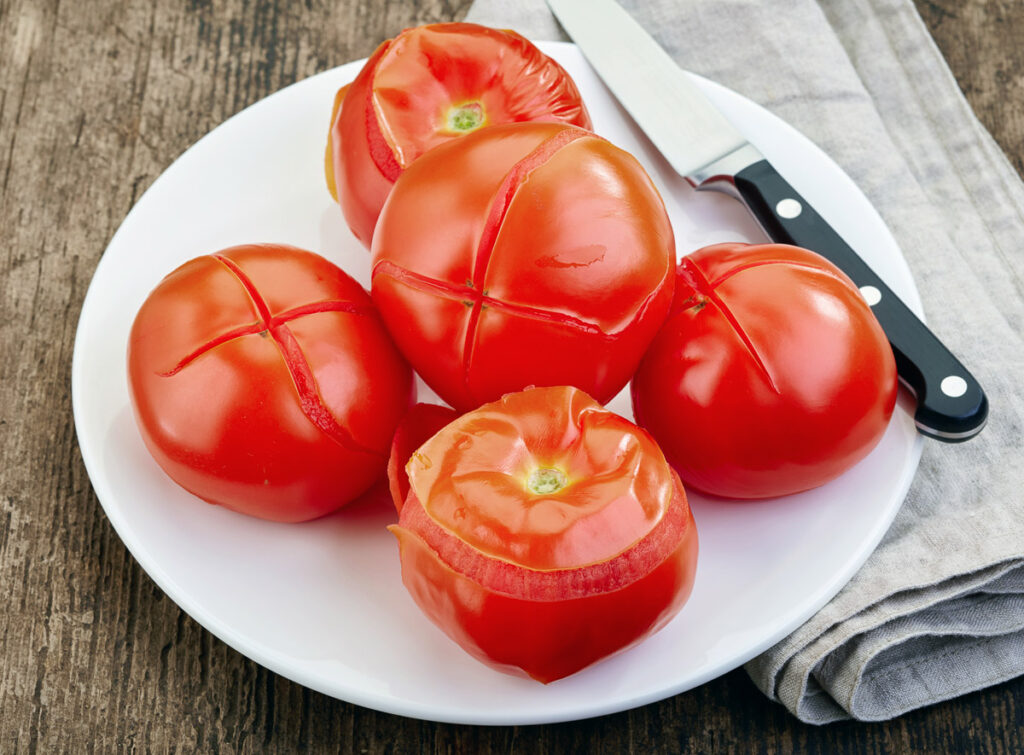
Blanching Time: 30 seconds to 1 minute
To peel tomatoes effortlessly, immerse them in boiling water for 30 seconds to 1 minute. The boiling water helps loosen the skin, making removing it easier and revealing the juicy goodness beneath. Follow up with an ice water bath to halt the cooking process.
Spinach: retaining nutrients
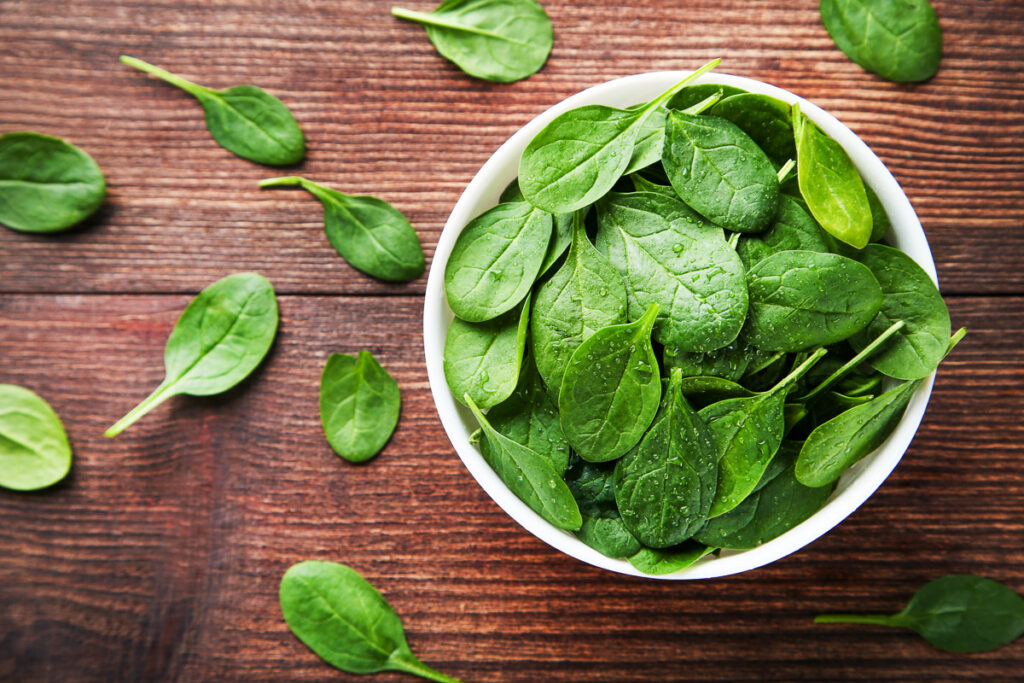
Blanching Time: 1-2 minutes
Blanching spinach briefly, for just 1 to 2 minutes in boiling water, is ideal for retaining its nutrients and vibrant color. The boiling step also eliminates any surface contaminants, enhancing food safety. Plunge it into ice water for that perfect crispness and preservation.
Potatoes: the ideal prep

Blanching Time: 3-5 minutes
Before freezing potatoes, blanching for 3 to 5 minutes in boiling water is essential. This prevents discoloration and removes microbes on the potatoes, making them safe for long-term storage. Ensure a swift transfer to ice water for cooling.
Brussels sprouts: perfectly green
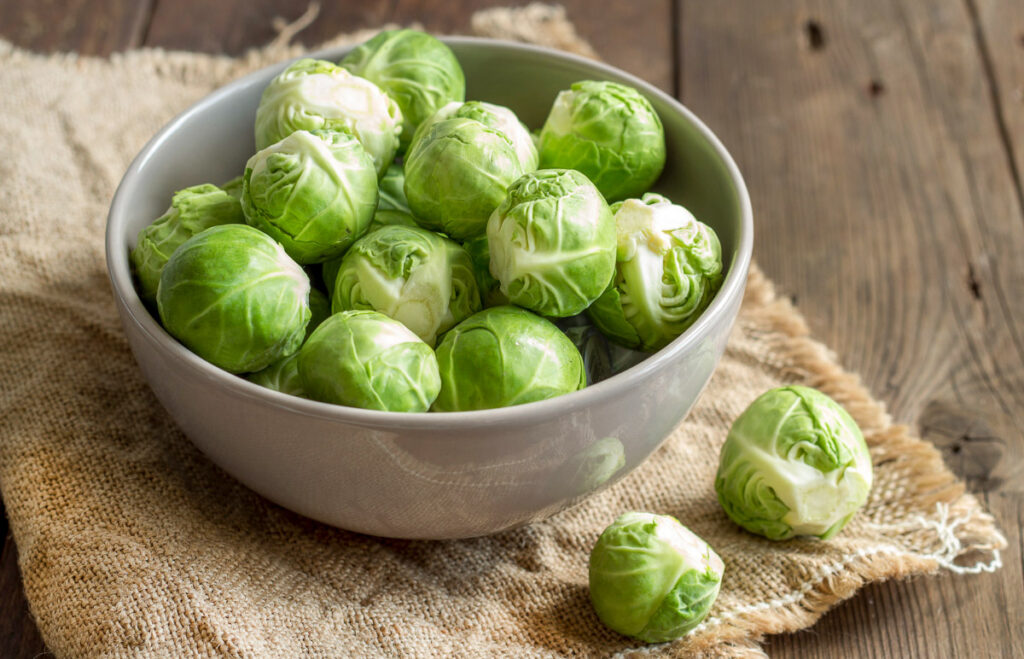
Blanching Time: 3-5 minutes
To prepare Brussels sprouts for freezing or cooking later, blanch them in boiling water for 3 to 5 minutes. The boiling step preserves their vibrant green color and makes them safe to store. Transfer them to ice water for a quick cool-down.
Mastering the art of blanching opens up a world of culinary possibilities. Following these guidelines for different vegetables and understanding the role of boiling in the process, you can enjoy fresh, vibrant, and nutrient-packed produce all year. Whether aiming to create a colorful stir-fry or freeze the harvest from your garden, blanching, with its essential boiling step, is your ticket to preserving nature’s goodness. So, go ahead, blanch like a pro, and savor the flavors of each season!
Photos are from Deposit photos.
Edited by Christopher Benoit.
Elizabeth (Beth) Mueller is a food journalist, CEO of Pear Tree Kitchen, and co-creator of Food Blogger Help. She also has a bachelor’s degree in philosophy and a registered nurse licensed in the State of Oklahoma. When she has free time between writing, blogging, and cooking, she can be found volunteering as an RN with the Oklahoma Medical Reserve Corps.