Knife Skills: How to be a Cut Above
The art of cooking starts with learning essential knife skills. Whether you’re dicing an onion, mincing garlic, or julienning carrots, each cut affects the texture, cooking time, and flavor of a dish. From the rustic chop to the delicate mince, understanding the size and technique of each cut is vital. Before we explore these techniques in detail, let’s cover the most important thing about using knives. SAFETY.
Safety first, safety last, safety always
- Focus and attention: Never take your eyes off the blade while cutting.
- Safe storage: Store knives in a block or on a magnetic strip, away from children’s reach.
- Cutting surface: Always use a stable and non-slip cutting board.
- Hand protection: Keep your fingers tucked in and use your knuckles as a guide.
- Proper handling: Always grip the knife by the handle, not the blade.
Knife sharpness and maintenance
The importance of sharp knives
- Safety: Contrary to popular belief, a sharp knife is safer than a dull one. A sharp knife requires less force, offering more control and reducing the risk of slipping and causing injury.
- Efficiency: Sharp knives make cutting easier and quicker, and help maintain the integrity of the food.
Sharpening your knives
- Regular honing: Use a honing steel regularly, ideally before each use, to keep the edge aligned.
- Sharpening methods: There are several methods for sharpening knives, including using a whetstone, manual or electric sharpeners. The choice depends on your comfort level and the tools available.
- Professional sharpening: For optimal results, consider having knives professionally sharpened once or twice a year, depending on usage.

Knowing when to sharpen
- The paper test: Try slicing through a sheet of paper. A sharp knife will cut smoothly and easily.
- Performance: If you notice crushing rather than slicing through food, or the need to apply excessive force, it’s likely time to sharpen.
- Visual inspection: Look for any nicks or dullness along the edge.
Safety tips while sharpening
- Stability: Ensure your sharpening tools are stable and secure.
- Proper technique: Learn the correct angle and technique, as improper sharpening can damage the knife.
- Focus: Stay focused and avoid distractions to prevent accidents.
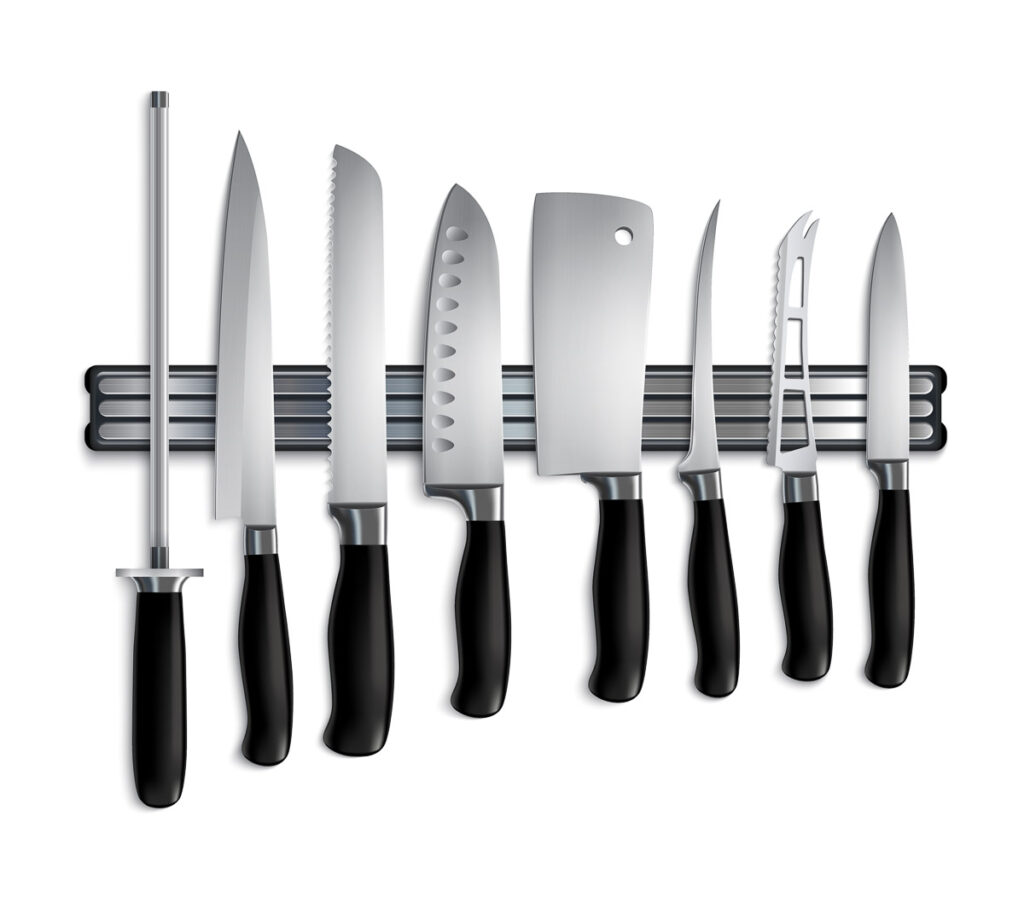
Choosing the right knife
Different cutting tasks require specific knives. Here’s a quick guide:
- Chef’s knife: Versatile for chopping, dicing, and mincing most vegetables and meats.
- Paring knife: Ideal for peeling and slicing small fruits and vegetables.
- Bread knife: Serrated edge perfect for slicing bread without crushing it.
- Utility knife: Smaller than a chef’s knife but larger than a paring knife, great for slicing meat.
- Santoku knife: Excellent for slicing, dicing, and mincing, especially for precise cuts.
- Boning knife: A thin, flexible blade that removes bones from meat and poultry.
- Filet knife: Similar to a boning knife but thinner and more flexible, it is ideal for fish.
- Cleaver: A heavy, broad knife chopping through bones and tough materials.
- Carving knife: Long and thin, perfect for slicing cooked meats in thin, even slices.
- Nakiri knife: A Japanese knife designed for chopping vegetables with a straight blade edge.
- Cheese knife: Designed to cut through cheese, often with holes in the blade to prevent sticking.
- Tomato knife: Typically serrated, perfect for cutting through the tomato skin without crushing the fruit.
- Meat slicer: A longer, thinner knife for slicing through large pieces of cooked meats.
Using your knives
It’s not just about what you cut, but how you cut. Here are a few tips:
- Grip: Hold the handle with a firm grip, with the thumb and forefinger securing the knife for control.
- Motion: Use a rocking motion for chopping, where the tip of the knife stays on the board.
- Consistency: Practice making uniform cuts for even cooking.
- Sharpness: Regularly sharpen your knives to make cutting easier and safer.
Now let’s look at the most common cuts used in cooking
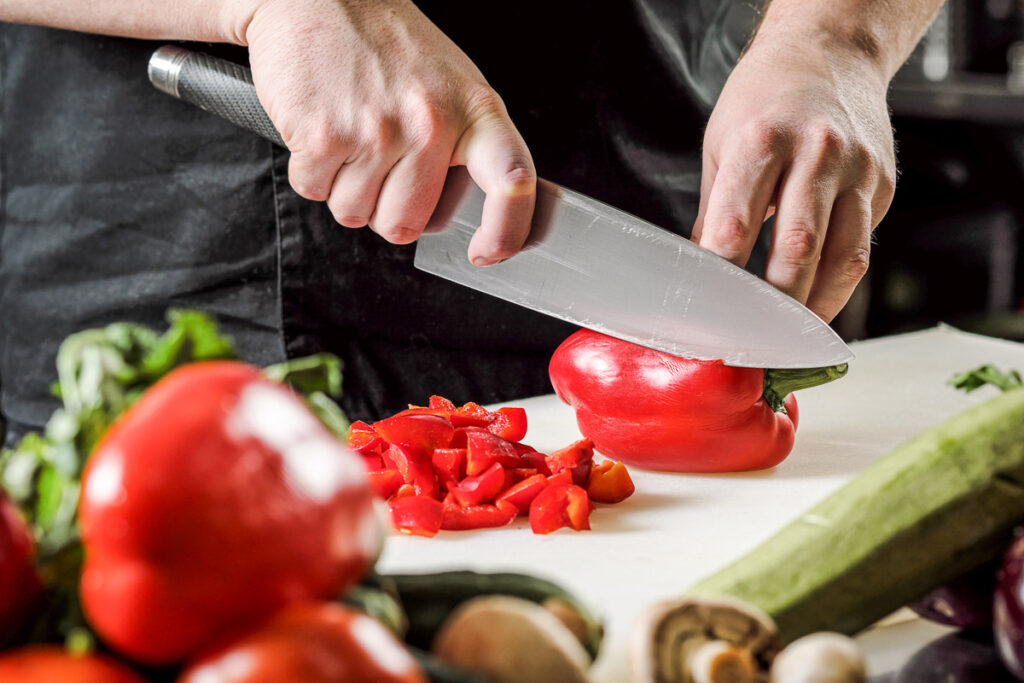
Chopping
Chopping is all about rough, hearty cuts. It’s ideal for rustic dishes whose size and shape aren’t important. Chunks range from half an inch to an inch and a half. This technique is less about precision and more about speed and efficiency. A chopped onion or a roughly cut piece of hard squash adds texture and body to soups and stews.
Dicing
Dicing involves cutting food into small, uniform cubes. This technique has three main sizes:
- Large dice: Around three-quarters of an inch, perfect for a chunky salsa or a hearty vegetable stew.
- Medium dice: About half an inch, commonly used for sautéed dishes.
- Small dice: Roughly a quarter of an inch, ideal for delicate sauces or as a garnish.
- Dicing ensures even cooking and a deep blending of flavors.
Mincing
Mincing is the finest of all cuts, typically used for ingredients like garlic and herbs. This cut creates tiny pieces, usually less than a quarter of an inch, allowing the ingredients to flow evenly throughout the dish.
Julienne
Julienning transforms vegetables into thin, uniform matchstick shapes, approximately 1/8 inch thick and 2-3 inches long. This cut is not just about beauty but also about cooking time and texture. Julienne carrots add a delicate, almost crunchy texture to a fresh spring roll or a stir-fry.
Slicing and cutting into wedges
Slicing is versatile, creating thin or thick cuts depending on your dish’s requirements. Thin slices are perfect for gratins or layered dishes, while thicker slices suit roasting or grilling. Cutting into wedges, typically done with fruits and vegetables like potatoes or apples, results in triangular pieces of varying sizes. This cut is excellent for roasting or for a rustic presentation.
Here are some tips for cutting some commonly used ingredients
Cutting potatoes
- Stabilizing: Start by cutting a small slice off one side of the potato to create a flat, stable base. This prevents the potato from rolling.
- Peeling: (if required): Use a vegetable peeler or a paring knife, keeping the potato secure with your hand that is not holding the knife..
- Slicing and dicing: Depending on the desired size, slice the potato into rounds, sticks, or cubes. For dicing, first, cut into slices, then into strips, and finally, into cubes.
- Safety tip: Keep the fingers curled inwards and use your knuckles as a guide for the knife.
Cutting Hard Winter Squash
- Preparation: For tough squashes like butternut or acorn, it can be helpful to soften the skin slightly in the microwave for 1-2 minutes.
- Stable cutting surface: Cut off the top and bottom to create a stable base.
- Peeling: For thick-skinned squash, use a vegetable peeler or a sharp chef’s knife.
- Slicing: Slice the squash in half, scoop out the seeds, and then proceed to cut it into the desired shape and size.
- Safety tip: Use a sharp, heavy-duty knife and apply even pressure. A dull knife can slip and cause accidents.
Cutting Garlic

Garlic, with its small size and multiple layers, requires a different approach:
- Separating the cloves: Begin by separating the individual cloves from the bulb. You can do this by placing the bulb on a cutting board and applying pressure with the heel of your hand.
- Peeling: To peel the clove, place it on the cutting board, lay the flat side of a knife blade over it, and gently press down until the skin cracks. Then, remove the skin with your fingers. For multiple cloves, shaking them in a hard container or silicone tube can speed up the peeling process.
- Slicing: If the recipe calls for sliced garlic, cut the peeled clove lengthwise into thin slices using a sharp knife.
- Mincing: For minced garlic, after slicing, rock your knife back and forth over the slices, pivoting with one hand on the handle and the other on the top of the blade, until the garlic is finely chopped.
- Crushing: For a stronger flavor, crush the garlic. After peeling, lay the flat side of your knife over the clove and press firmly until it is crushed.
- Safety tip: Given the small size of garlic, it’s important to keep your fingers clear of the blade. Be sure to keep your fingertips tucked in.
- Bonus tip: To remove garlic odor from your fingers, rub them on stainless steel under running water.
Garlic is a common ingredient in many recipes, so mastering these techniques can significantly improve your cooking skills. Handling garlic correctly not only speeds up your food preparation process but also makes sure that the flavor is spread throughout your dish.
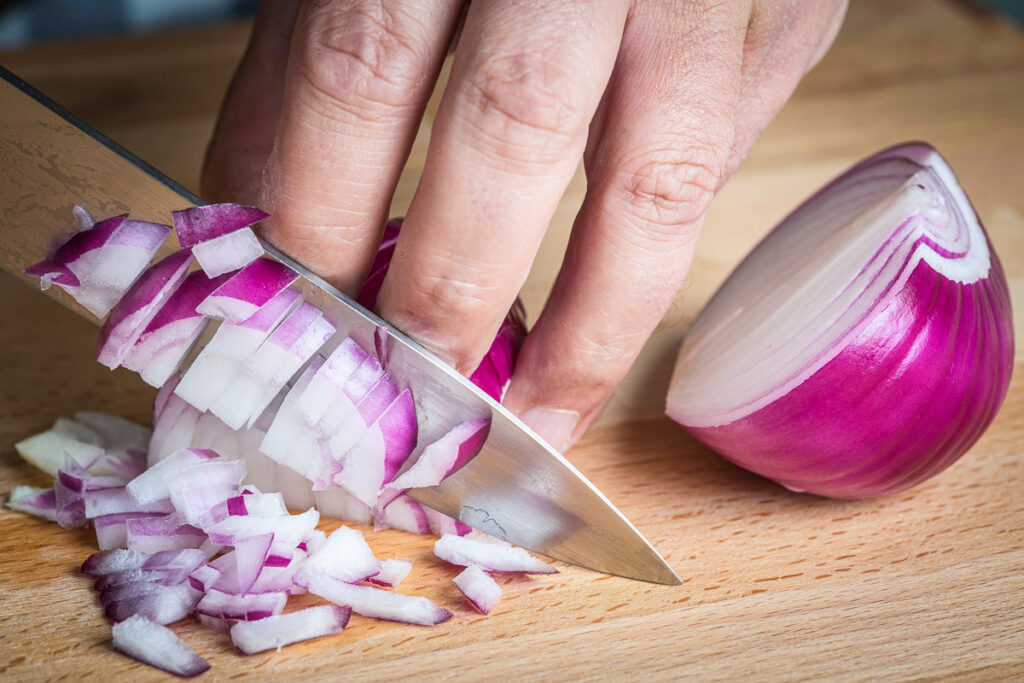
Onions
- Stabilizing and Slicing: Cut off the top, leaving the root end intact for stability. Slice in half from top to bottom, and peel.
- Dicing: Make a series of vertical slices towards the root, followed by horizontal cuts, and then slice downwards across these incisions for a fine dice.
- Safety: Protect your fingers and use a sharp knife to minimize tearing and slipping
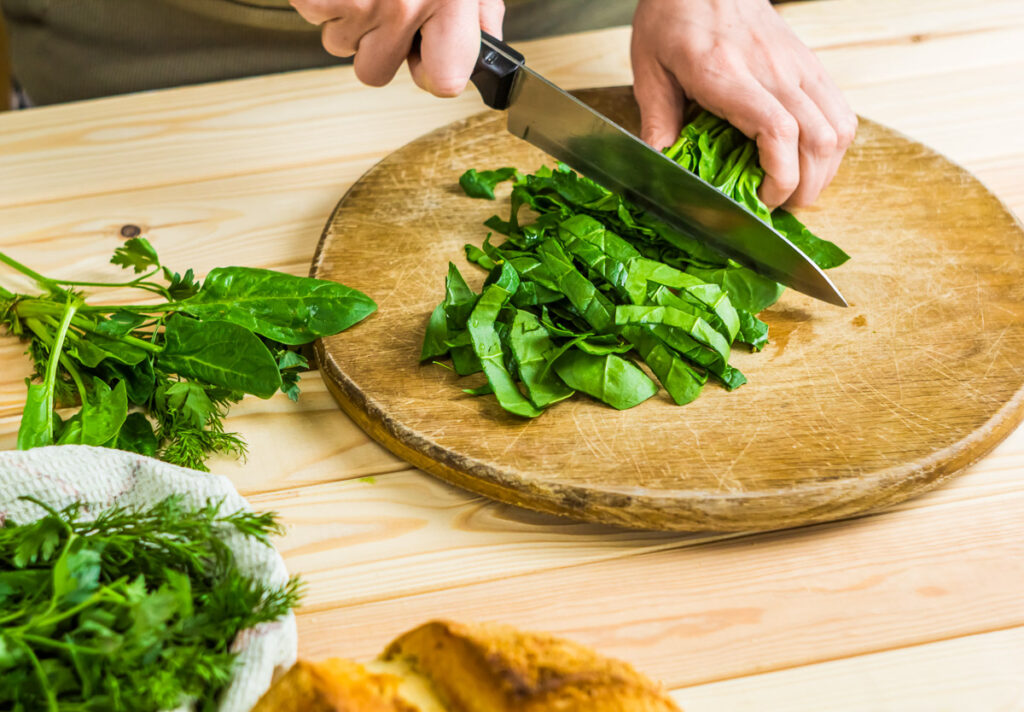
Leafy greens and herbs
- Chiffonade: Stack leaves (like basil or spinach), roll them tightly, and then slice across the roll to create thin ribbons.
- Mincing Herbs: Bunch herbs together tightly and slice them thinly, then rock your knife through the slices for a finer mince.
- Delicate Handling: Use a sharp knife to avoid bruising the leaves.
Citrus fruits for segments
- Peeling: Slice off the top and bottom, then cut away the peel and pith in a curved motion.
- Segmenting: Over a bowl, slice between the membranes to release individual segments.
- Knife Choice: A sharp paring knife offers the most control.
Melons and large fruits
- Halving and De-seeding: Cut in half and use a spoon to scoop out the seeds.
- Slicing or Cubing: For melons like cantaloupe, after halving, you can make slices or cube the flesh.
- Peeling: Peel skins if necessary before cutting into smaller pieces.
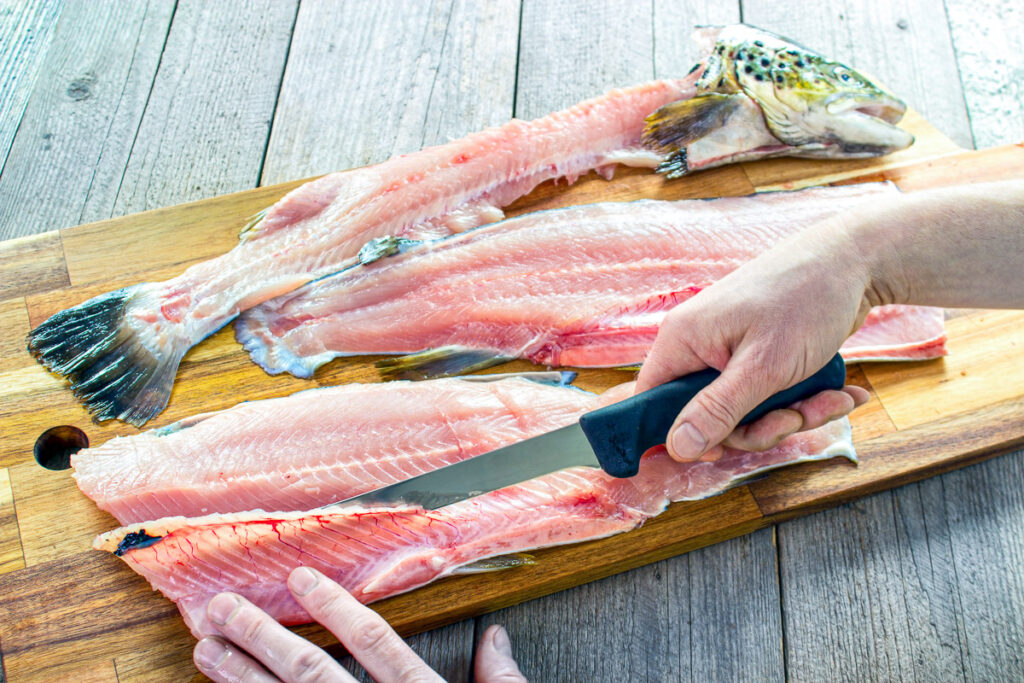
Fish filleting
- Proper knife: Use a filet knife, which is flexible and sharp for delicate work.
- Technique: Slide the knife along the backbone, gently separating the flesh from the bones.
Special considerations for other items
- Tomatoes: Use a serrated knife to slice through the skin cleanly without crushing the delicate interior.
- Bread: A bread knife with a serrated edge is ideal for cutting through crusty bread without squashing it.
- Meat with bones: Use a boning knife for precision and to avoid damaging the blade on the bones.
- Cheese: Soft cheese can be cut with a wire cutter or a knife with holes to prevent sticking, while hard cheese requires a sturdy knife.
- Citrus fruits: For segments or supremes, use a sharp paring knife to remove the skin and
- Choosing the right cutting board: Pairing your knife with the right cutting board is important. Avoid glass or stone boards as they can dull your knives. Use wooden or plastic boards that provide a firm, stable surface and are gentler on the blades.
Other thoughts on knife usage and storage
- Proper knife storage: Proper storage is essential for maintaining the knife’s edge. Magnetic strips, knife blocks, or sheaths protect the blades from damage and reduce the risk of accidents.
- Correct posture and cutting technique: Your body posture and how you hold the food item can impact safety and efficiency. Stand squarely in front of the cutting board, keep your wrists relaxed, and use your non-cutting hand to hold the food securely, tucking your fingers away.
- Avoid cross-contamination: Use different knives for different types of food, especially separate ones for raw meat and vegetables, to prevent cross-contamination.
- Learn basic first-aid: In case of a cut, it’s important to know basic first-aid. This includes cleaning the wound, applying pressure, and seeking medical attention if necessary.
- Understanding the limitations of your knives: Every knife has its limitations. For instance, don’t use a chef’s knife for opening cans or a paring knife for cutting through bones.
- Regular inspections for wear and damage: Regularly inspect your knives for any signs of wear or damage. A damaged knife, like one with a broken handle or chipped blade, can be unsafe and should be repaired or replaced.
- Educational resources and classes: Many cooking schools and culinary institutes offer classes for improving their knife skills. Online tutorials can also be helpful or you can contact us here at Cooking Tips and Tricks with any questions you might have.
- Mindfulness and respect for the tool: Always approach knife usage safely and respectfully. A knife is a tool designed to perform efficiently, and careless handling can lead to accidents.
Being familiar with these knife skills – from the robust chop to the delicate mince – not only accents the visual appeal of your dishes but also ensures consistent cooking and flavor. Practice these techniques with common ingredients, and watch as your cooking receives rave reviews from your family and friends.
Edited by Oliver Baysinger.
Photo Credit by Deposit Photos and contributors.
Transitioning from the theatrical stage with her BA in theater to the culinary world, Elaine Benoit exemplifies how passion can reshape a career. As the CEO of Dishes Delish, she skillfully combines health-conscious and soul-satisfying recipes with expertly mixed cocktails. Elaine also explores the world of food through her podcast "Dishing," sharing her gastronomic journeys. Further, as a co-owner of Food Blogger Help, she dedicates herself to mentoring emerging food bloggers, offering them the tools for success. Elaine's multifaceted background, from acting to culinary arts, positions her as a guiding light in the digital food sphere.